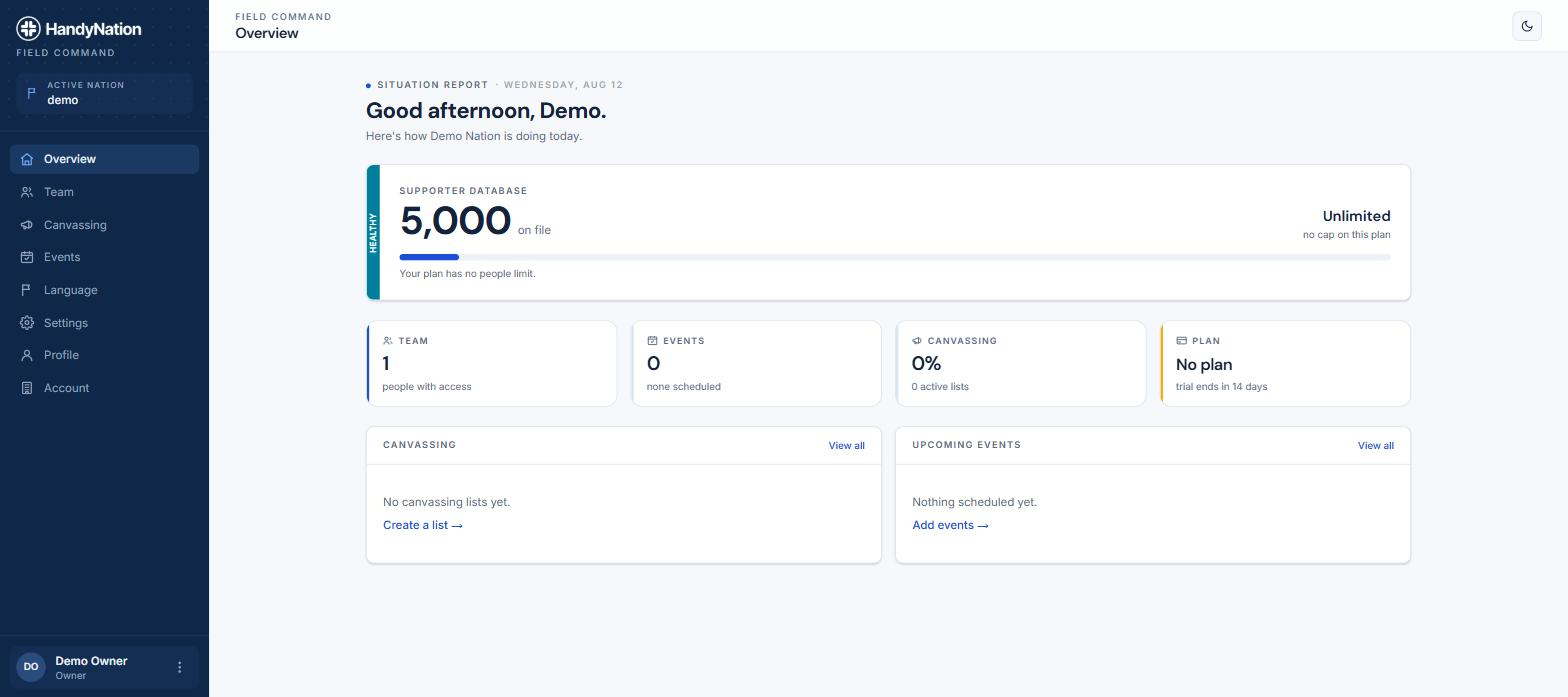
Account Setup & Installation
Prerequisites
Before you begin setting up the app, please make sure you have the following in place for a smooth installation.
- A NationBuilder control panel user with admin access. HandyNation authenticates against your NationBuilder control panel, so the person doing the setup needs administrative privileges there. Without them, the authorisation step cannot grant the app access to your nation.
- An active HandyNation subscription. You can start on the free trial and add payment details later, but continued access needs an active plan. Canvassing is a paid add-on and can be switched on at signup or any time afterwards.
- A smartphone for field work. The office side of HandyNation runs in any modern desktop browser. Canvassing, the CRM and donor screens are designed for a phone — open the field app on the device you will actually be carrying.
- Access to the field app. Sign in to the field app on your phone at mapp.handynationapp.com, or install the Android build if your administrator has distributed one. Opening the field app on a desktop shows a notice instead — the screens assume a phone in one hand.
With all of these in place you are ready to set up your nation and start using the product.
Account setup
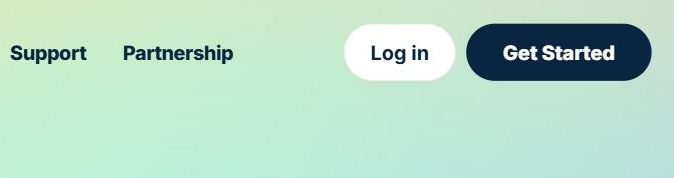
Start from the Get Started button in the top right corner of the site.
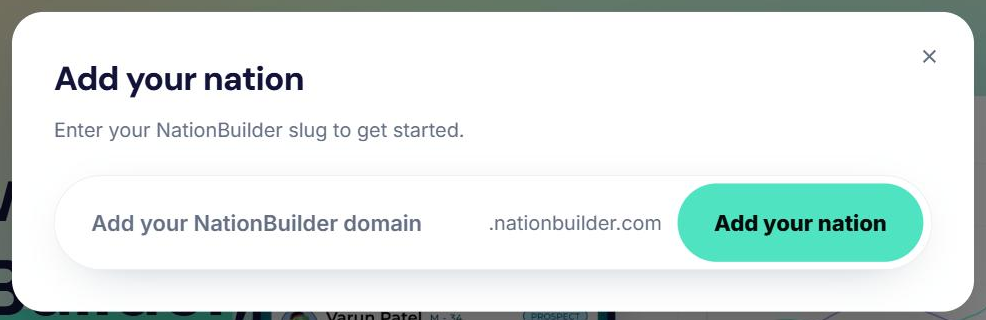
You will be asked for your NationBuilder slug — the part of your nation address before `.nationbuilder.com`.
If that nation is already registered with HandyNation, you will be told so rather than creating a duplicate.
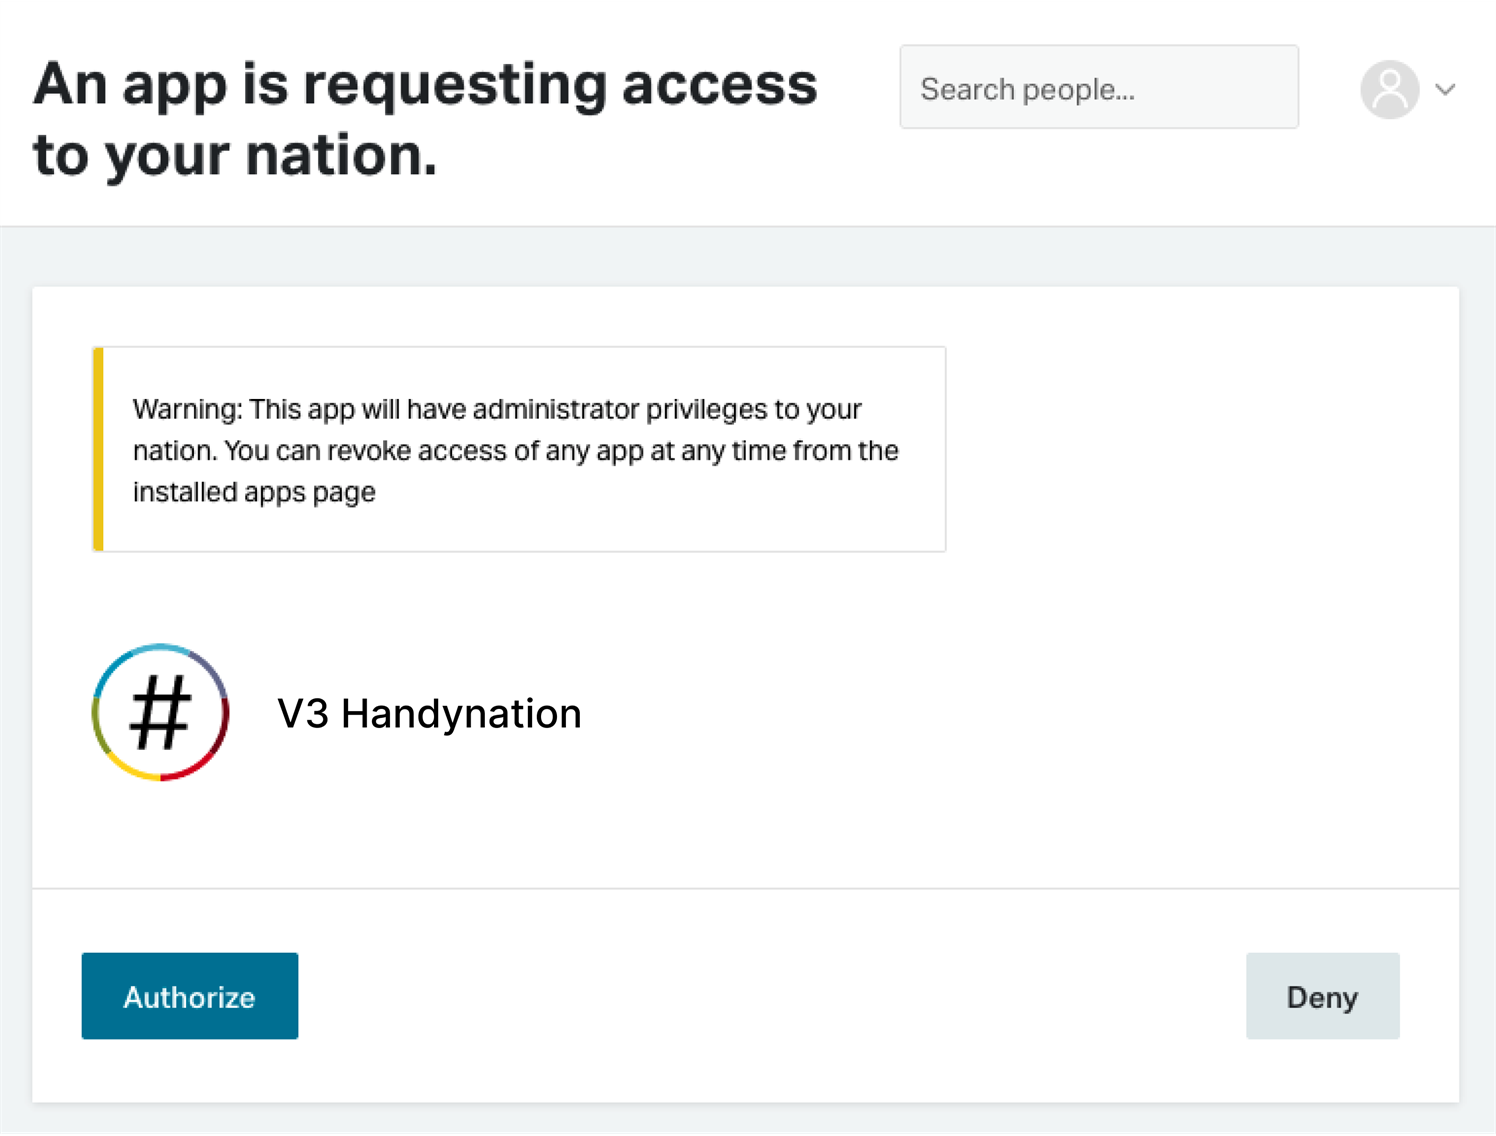
If the slug is new, you are sent to your own NationBuilder site to authenticate. Sign in there with admin credentials and allow HandyNation to connect to your nation.
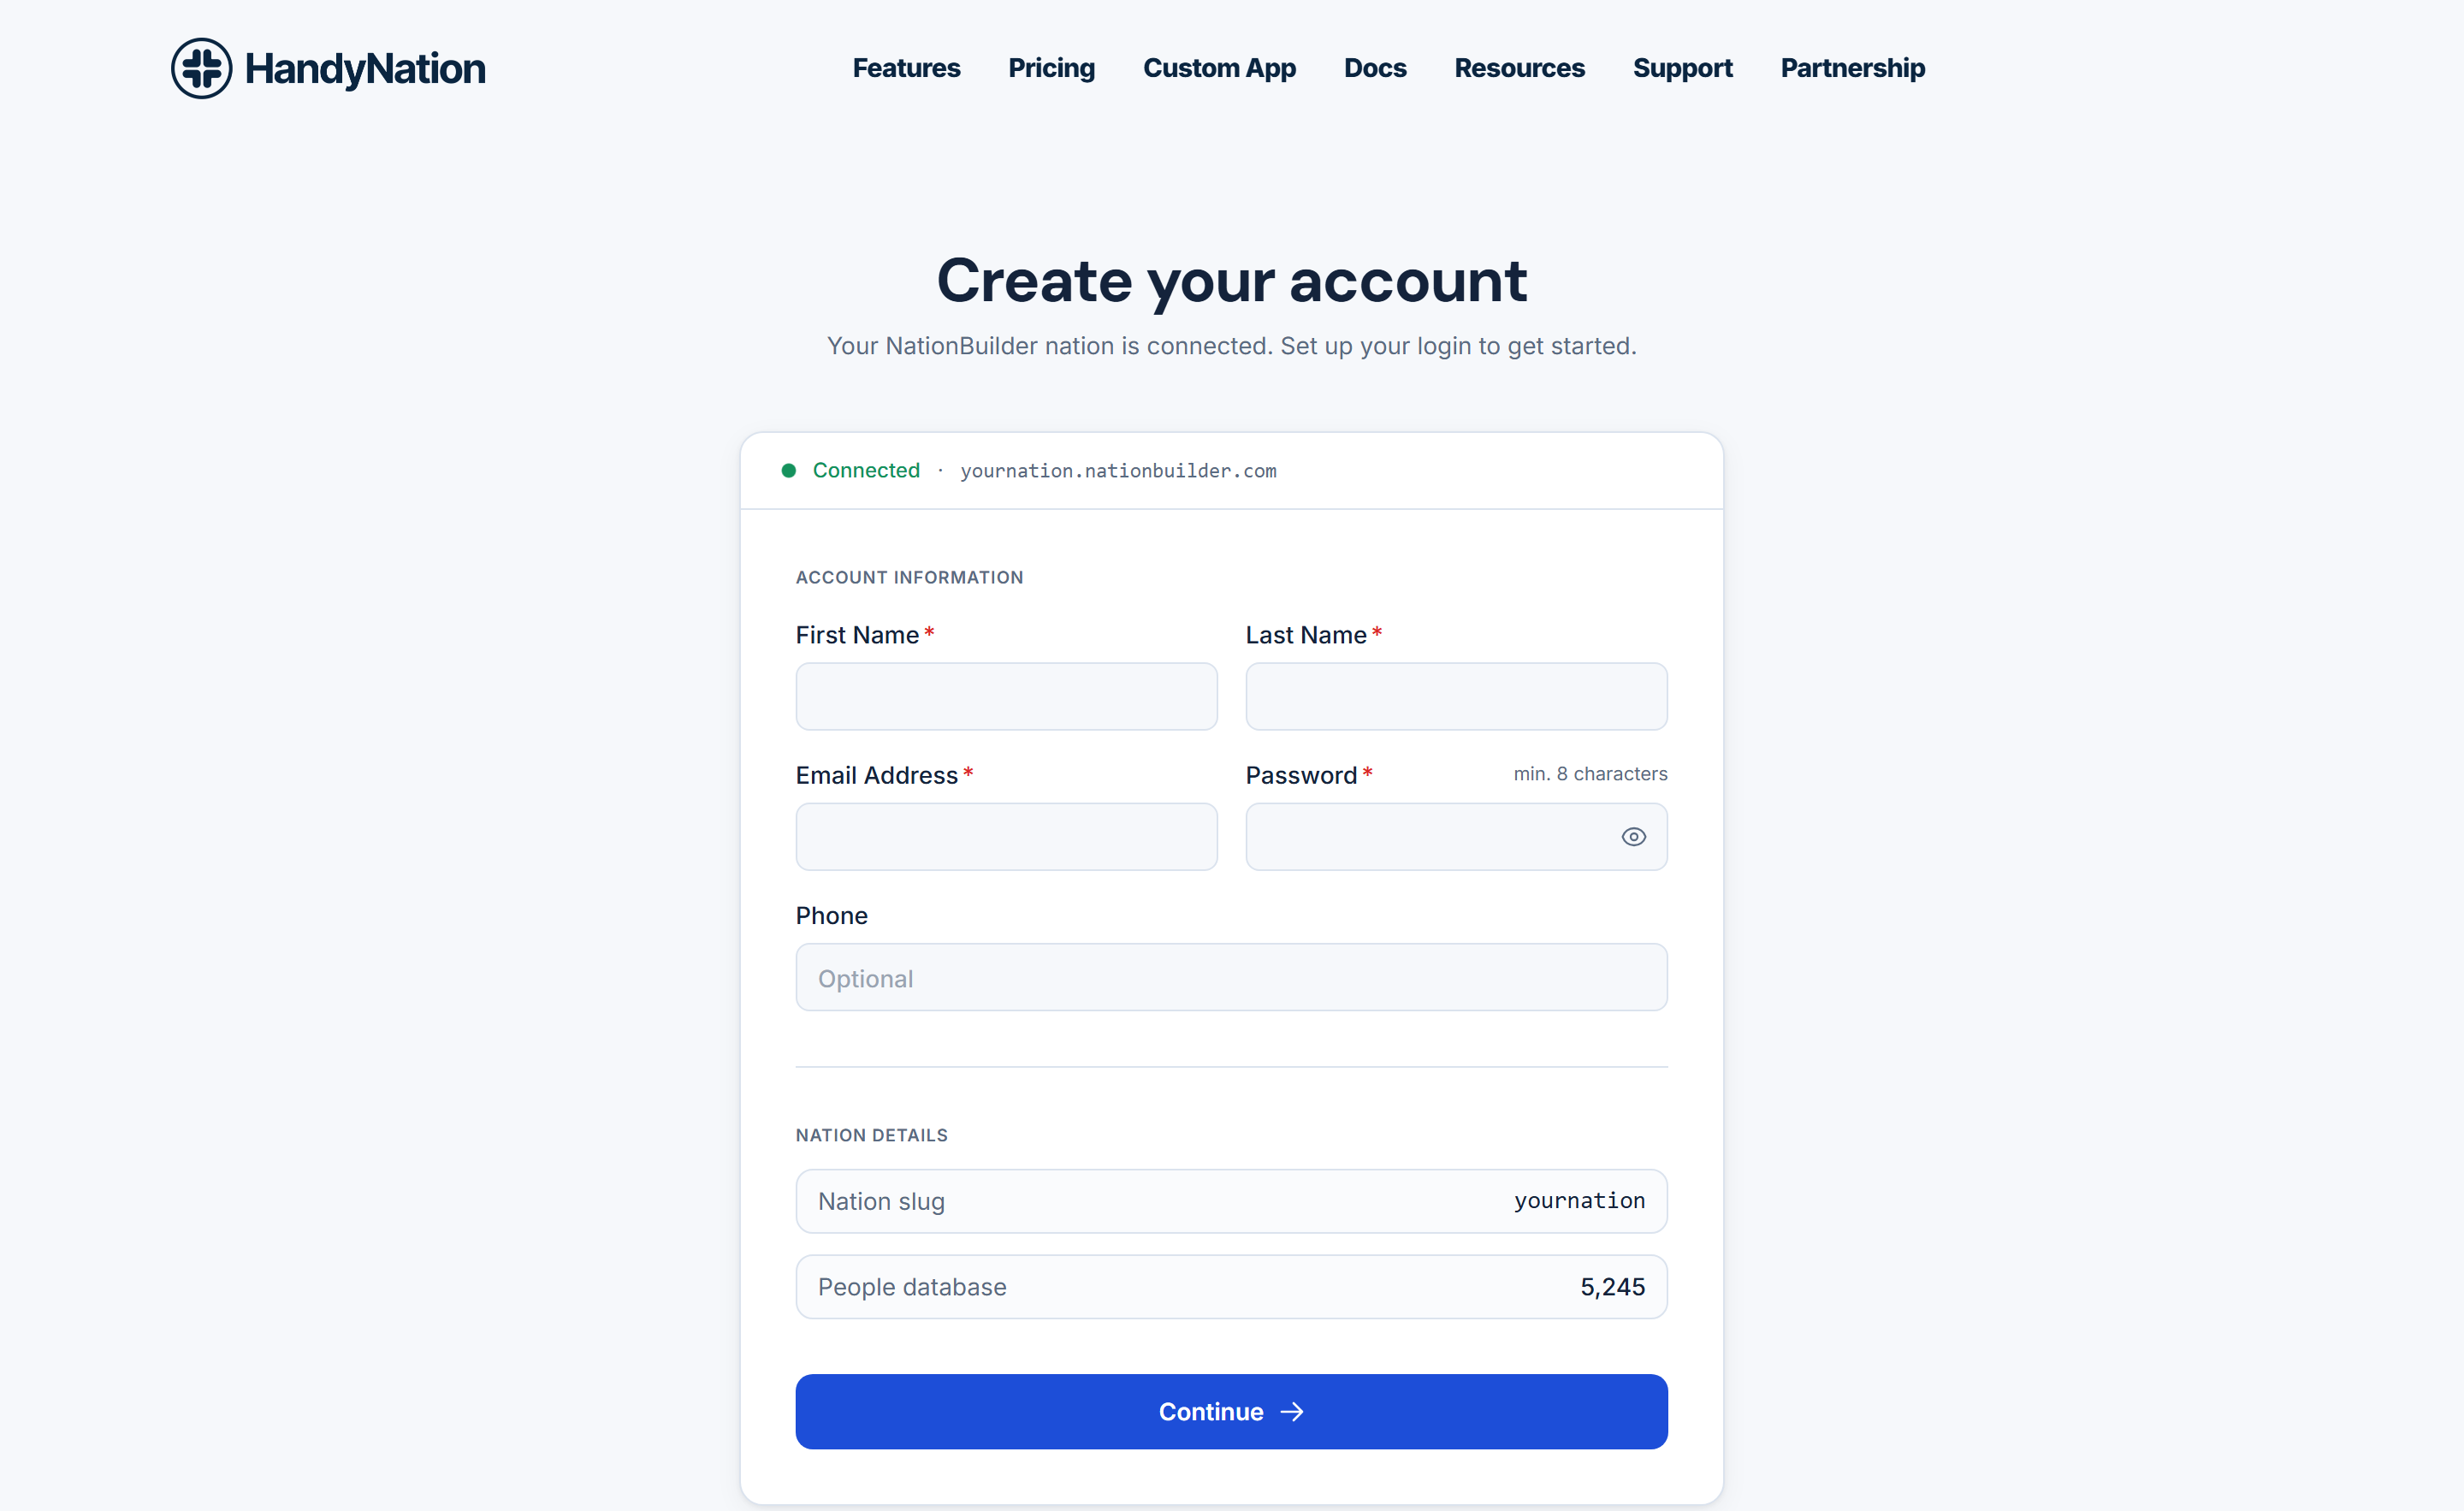
Approving sends you back to HandyNation to create your account. This is the login you will use from now on — yours, not your NationBuilder one. The Nation Details panel underneath confirms which nation you just connected and how many people it holds.
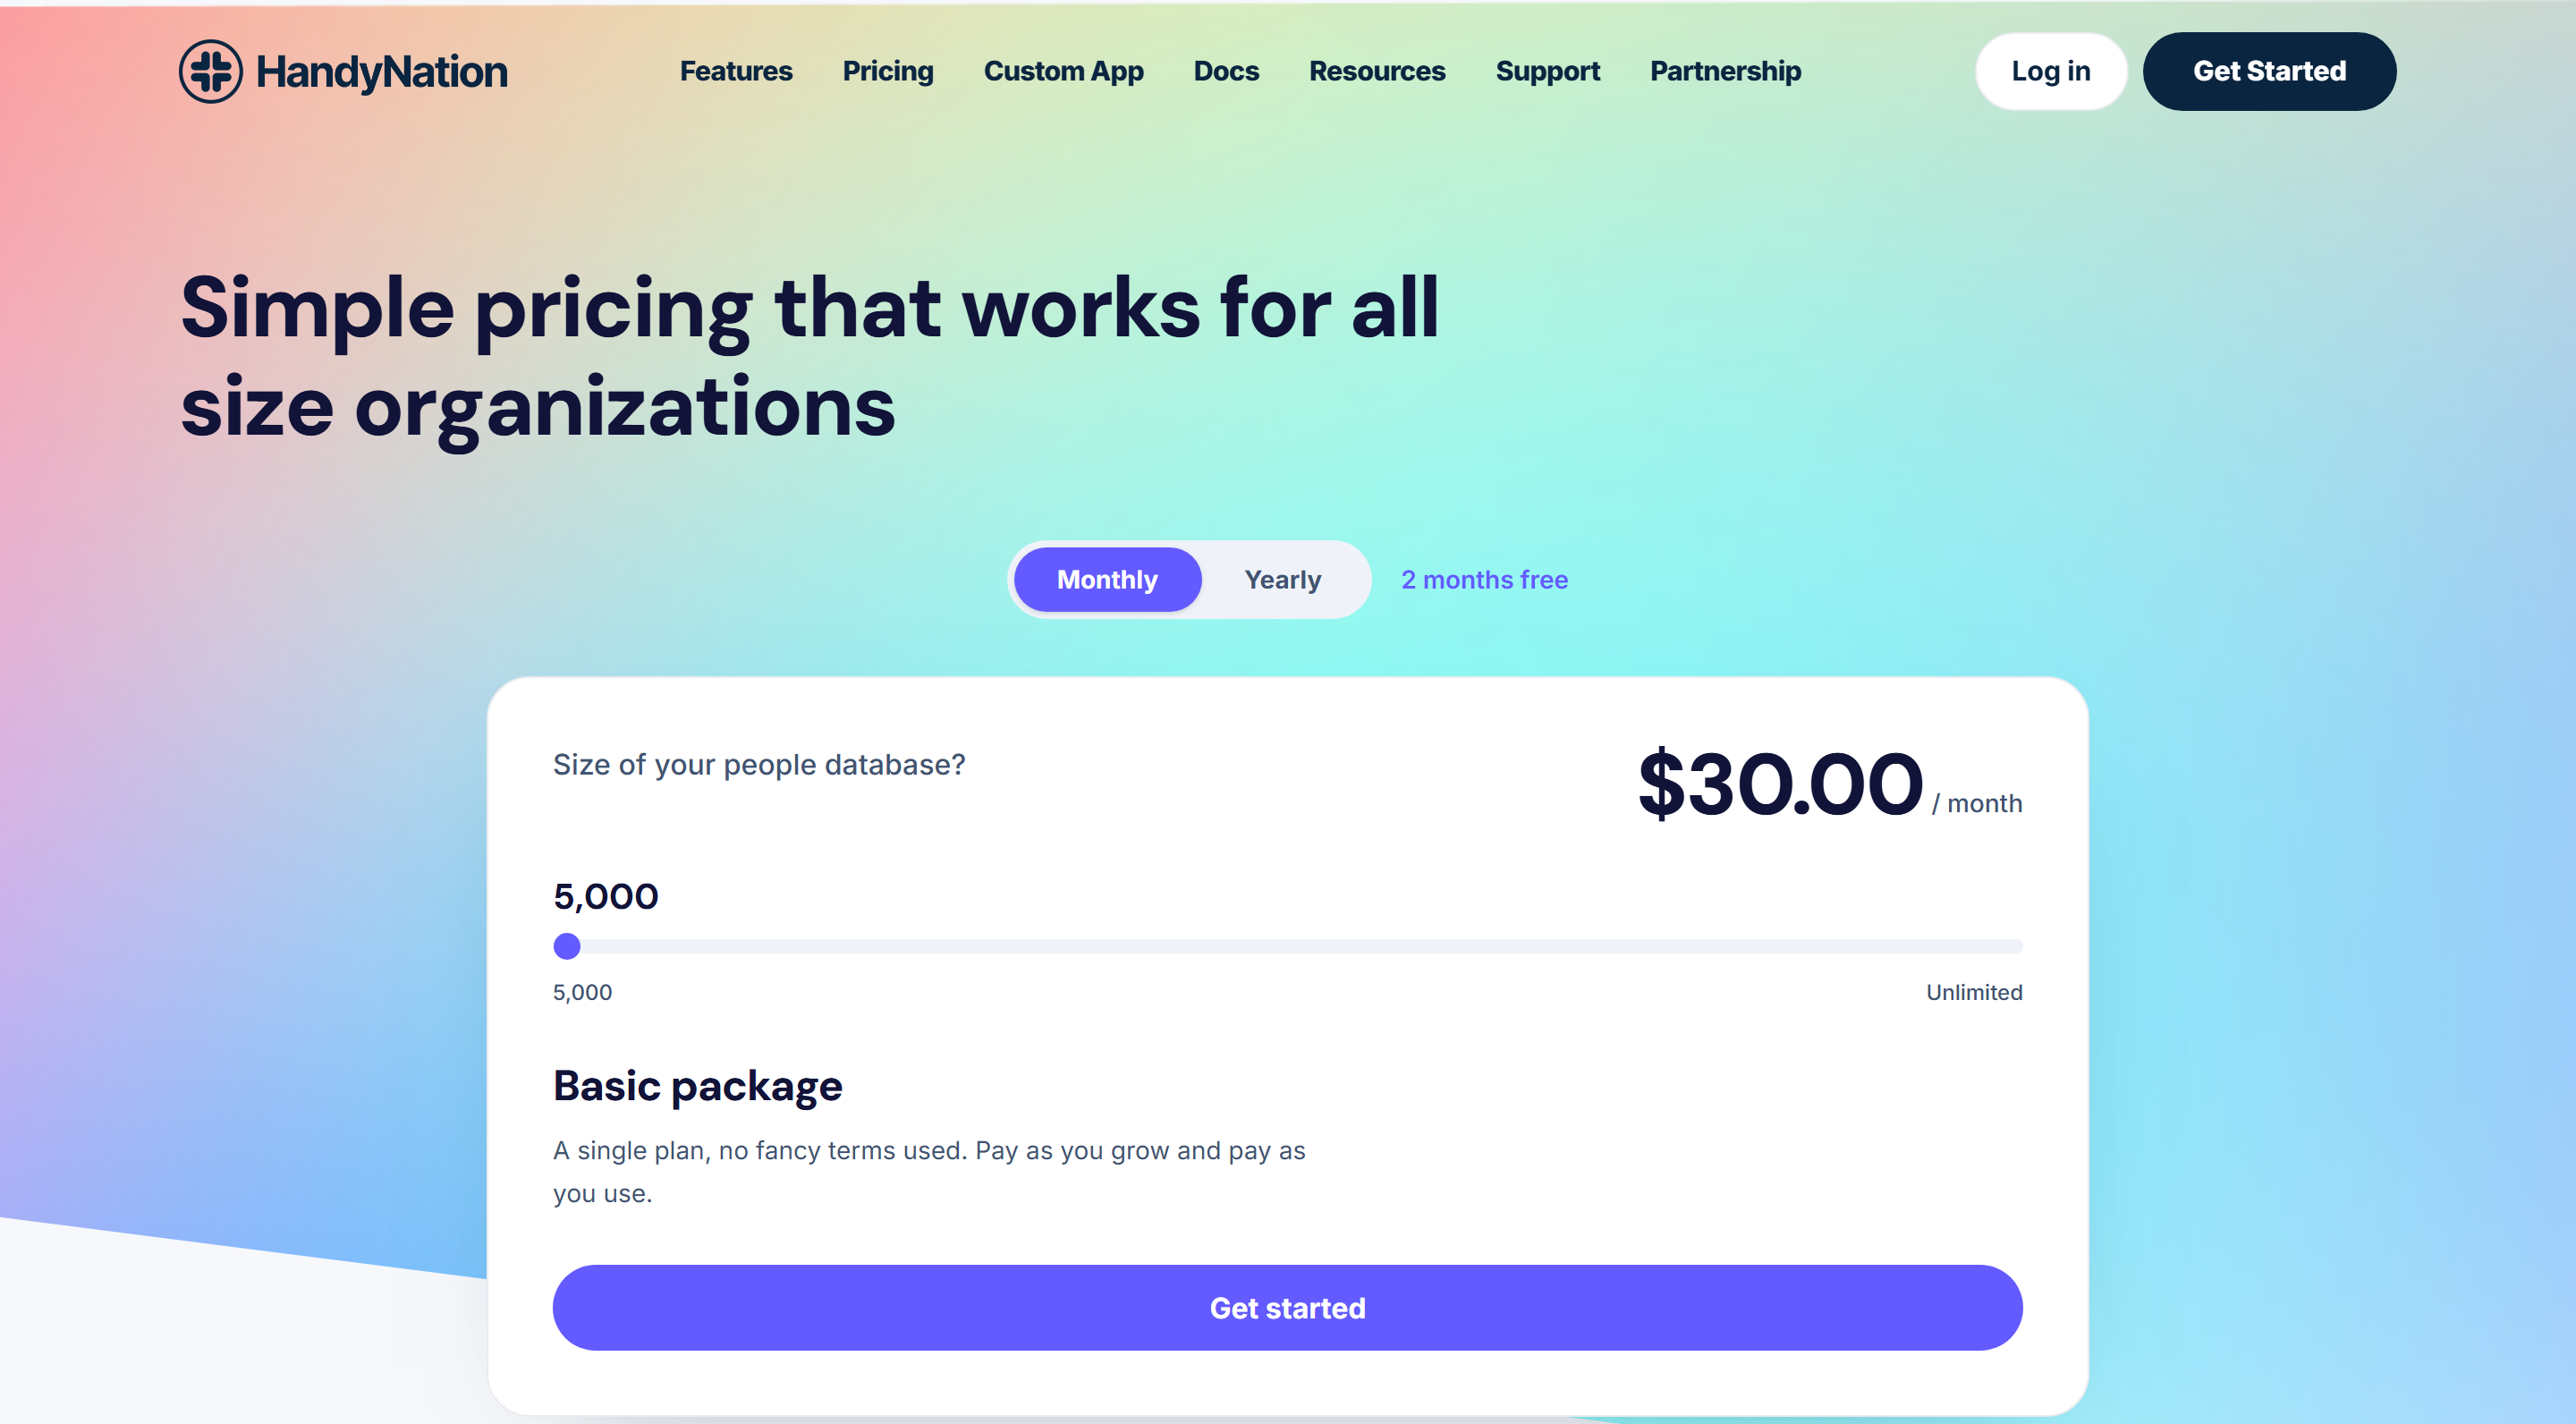
Next you size the plan. Drag the slider to the size of your NationBuilder database and the price follows it — there is one package, priced by how many people you hold. The Monthly / Yearly toggle above the card switches the billing period; yearly is two months free.
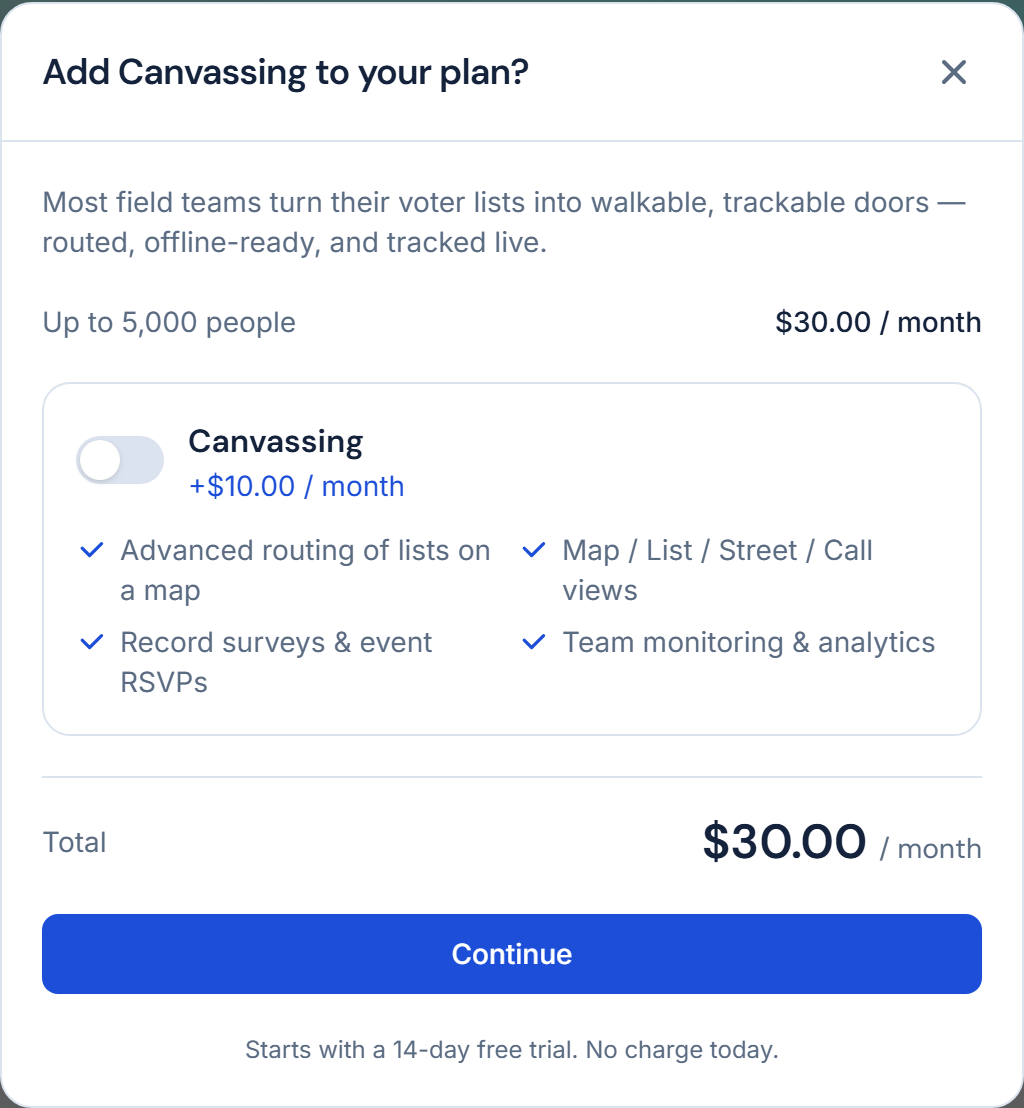
Get started then offers the canvassing add-on. Turn it on only if your team works doors in the field — it adds map routing, the Map / List / Street / Call views, door surveys and team tracking. The total updates as you toggle it, and either way you begin on a 14-day free trial.
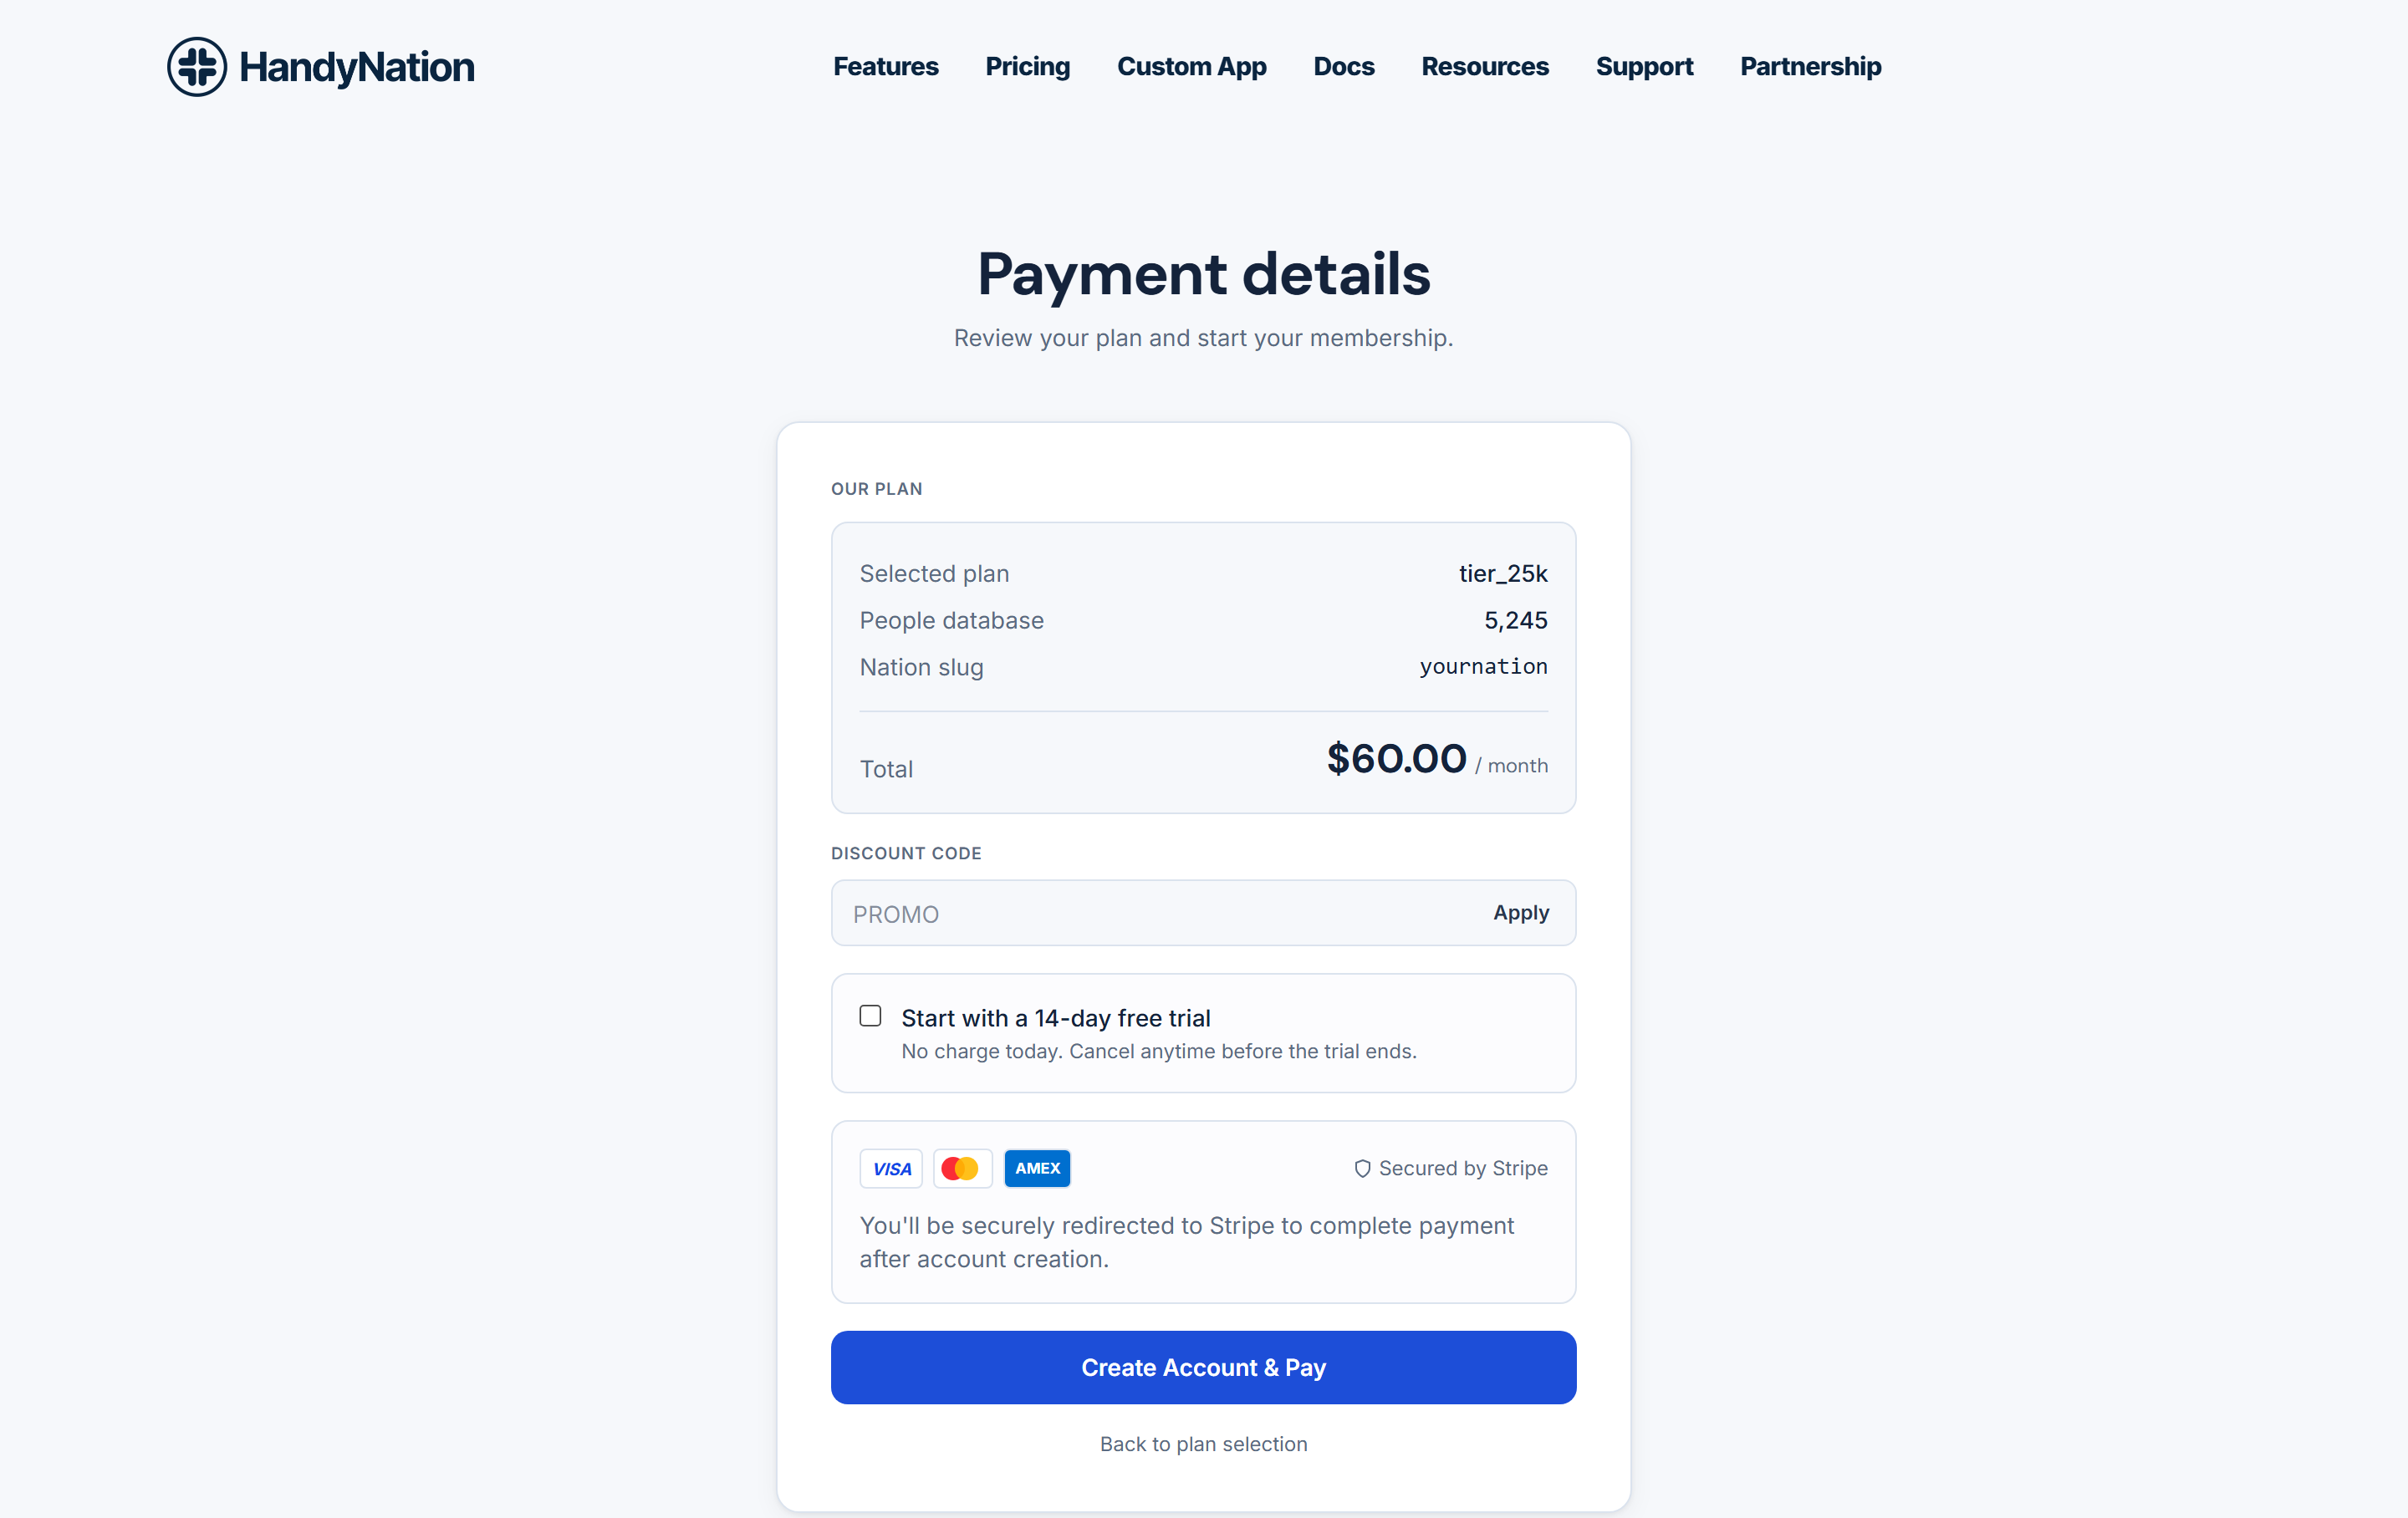
Payment details is the last step. It restates the plan you picked, what your nation costs and any discount code, then gives you the choice: leave Start with a 14-day free trial ticked to begin free, or untick it and pay now. Paying redirects you to Stripe to enter your card — HandyNation never sees or stores your card number.
After the payment goes through you land in your account area. Setup is complete — you can now sign in to the field app on your phone.